Free Crochet Frog Pattern: Easy 1-Hour Amigurumi Tutorial for Beginners
Learn how to make a cute crochet frog pattern with this free 1-hour amigurumi tutorial. Step-by-step photos, no-sew legs, and easy beginner guide!
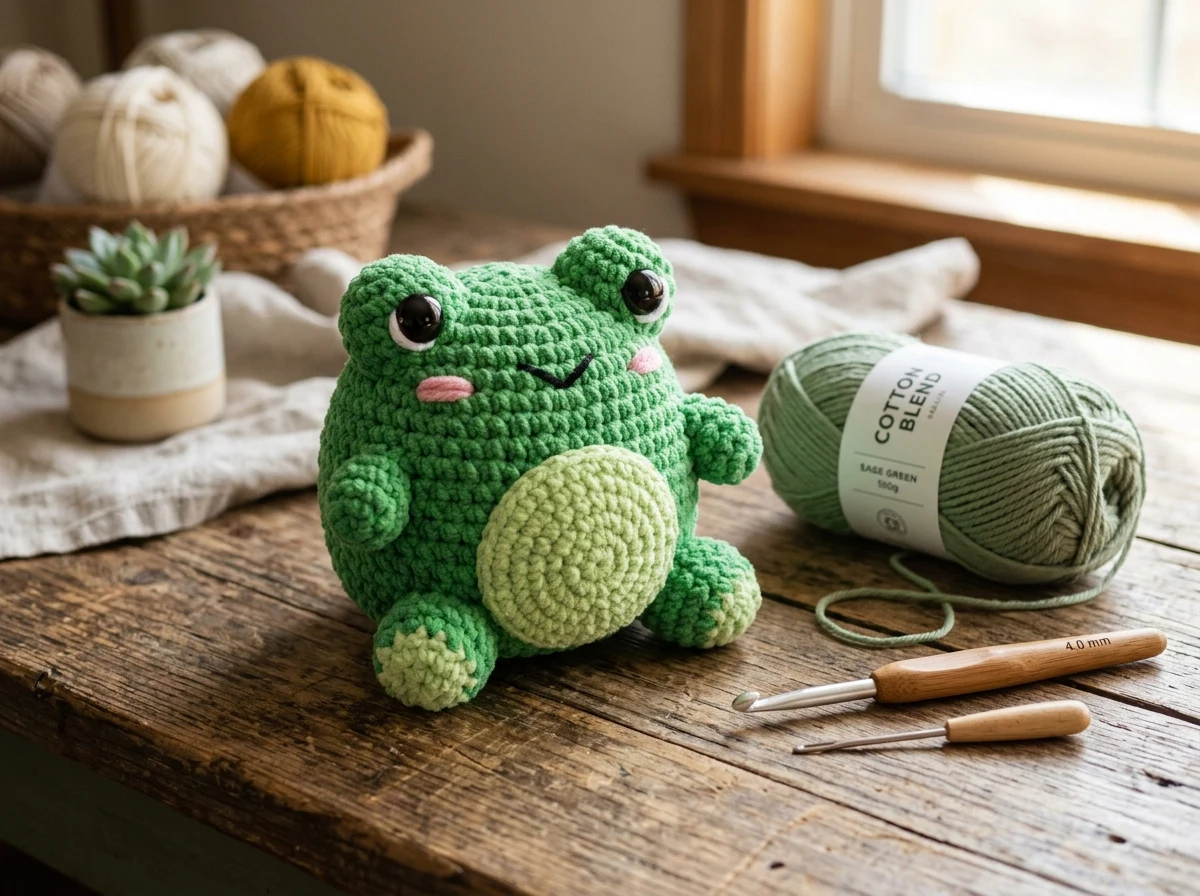
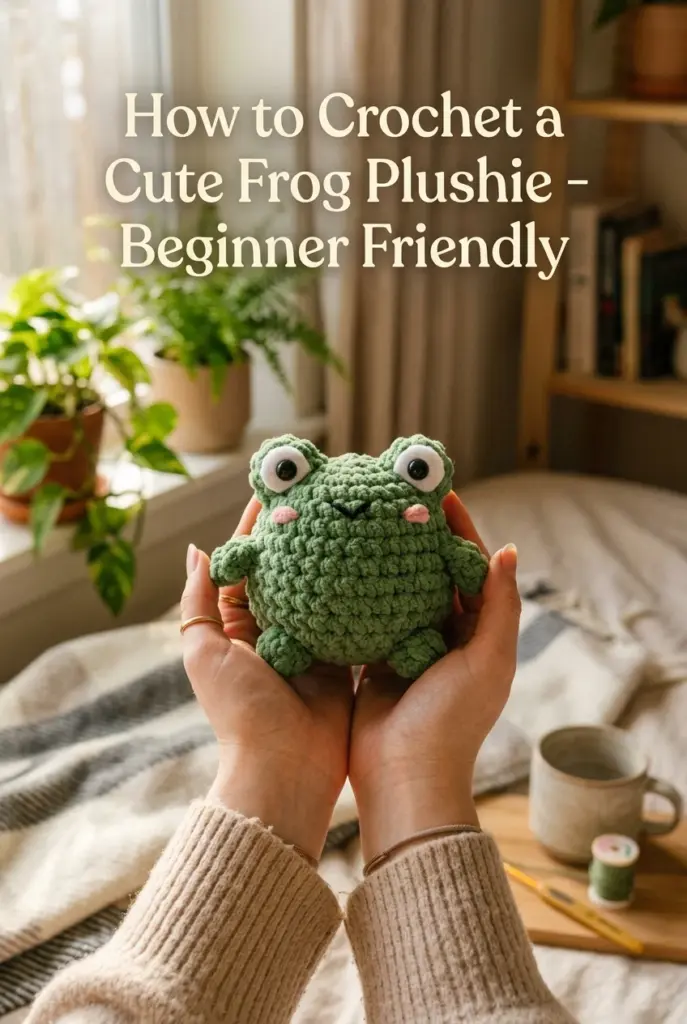
This lovable crochet frog plushie is crocheted in continuous spiral rounds from the head to the base. With sweet bubble eyes, little webbed legs, and a cream belly patch, it is the ultimate cute companion.
Save This Pattern on Pinterest
Choose your favorite creative and save it to the board you use for crochet inspiration.
Pattern Introduction & Story
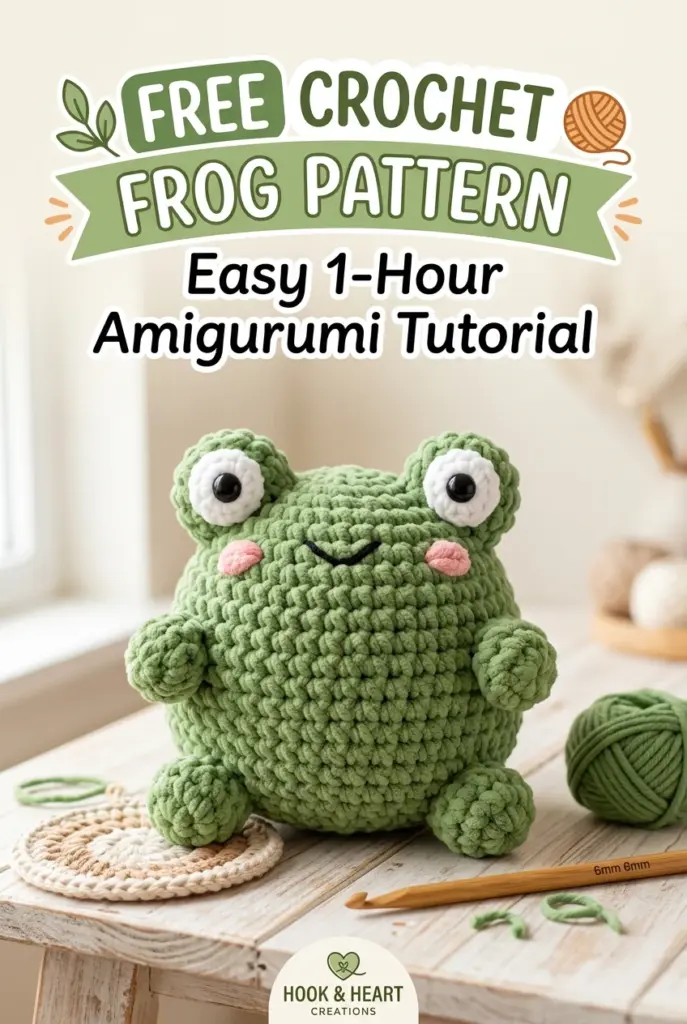
This free crochet frog pattern is the ultimate quick, relaxing, and charming project for amigurumi enthusiasts and complete beginners alike. With its chubby spherical body, adorable protruding bubble eyes, sweet embroidered smile, and rosy blush cheeks, this little pocket frog is guaranteed to bring instant happiness to anyone who holds it.
Handmade amigurumi animals have become one of the most beloved trends across social media, gift boutiques, and craft markets worldwide. Whether you are looking for a rapid weekend stash-busting project, a heartwarming gift for a loved one, or a bestselling item for your handmade craft booth, this beginner-friendly plushie delivers maximum cuteness with minimal time investment. If you enjoy building your handmade plushie family, make sure to explore our curated Crochet Animals collection for more delightful step-by-step guides!
How to Make a Cute Crochet Frog Pattern
Completing this crochet frog pattern takes only about 60 to 90 minutes from your initial magic ring to the final embroidered blush stitch. The primary head and body sections are worked together as a single seamless sphere in continuous spiral rounds. This clever seamless construction eliminates awkward join ridges and creates a beautifully rounded, durable plushie that will withstand years of cuddles.
According to the Craft Yarn Council standard yarn weight guidelines, a medium worsted weight yarn (Category 4) paired with a 4.0 mm (US G-6) crochet hook achieves the ideal stitch density. By sizing down your hook slightly, you create tight single crochet stitches that completely conceal the soft polyester fiberfill inside, preventing any unsightly white stuffing from showing through.
Why This Beginner Amigurumi Design Is Loved by Crafters
Many traditional amigurumi patterns require sewing ten or more separate body parts together, which can often feel daunting for novice crafters. This streamlined crochet frog pattern focuses on simple geometry, minimal sewing, and maximum personality:
- Continuous Spiral Geometry: Working in continuous spiral rounds without joining with slip stitches gives the body a flawless, organic sphere finish.
- Kid-Safe Secure Eyes: High-grade 12 mm black safety eyes are locked with interior washers prior to stuffing, ensuring exceptional safety and longevity.
- Expressive Facial Details: The combination of prominent top eye hoods, a minimalist v-shaped smile, and gentle pink blush marks creates that signature lovable kawaii expression celebrated across the Ravelry crafting community.
Yarn Selection: Worsted Cotton vs. Velvet Chenille
You can easily adapt the texture and final dimensions of your crochet frog pattern simply by varying your fiber choice! When worked in crisp worsted cotton (such as Dishie or Lily Sugar’n Cream), your finished frog will measure approximately 4.5 inches tall — perfect as a desk mascot or backpack charm.
If you want a giant, ultra-squishy pillow plushie, switch to super bulky velvet or chenille blanket yarn (such as Bernat Blanket or Premier Yarns Parfait Chunky) paired with a 6.0 mm hook. Because the proportional stitch counts remain identical, no pattern math adjustments are required!
Want to pair your finished frog with complementary handmade accessories? You can easily crochet our matching Easy 5-Petal Crochet Flower pattern to serve as a floating water lily pad, or carry all your yarn essentials in our popular Crochet Granny Square Tote Bag.
Essential Amigurumi Tips for Clean, Professional Finishes
To achieve impeccable results on your crochet frog pattern, keep these three expert tips in mind:
- Always Use Invisible Decreases: When decreasing stitches, insert your hook into the front loops only of the next two stitches. This creates a nearly invisible transition with no tell-tale bumps.
- Stuff in Firm Layers: Add small clumps of polyester fiberfill gradually, pushing the stuffing outwards against the spherical walls to mold a smooth, plump silhouette.
- Use Locking Stitch Markers: Because spiral rounds have no seam line, placing a locking stitch marker in the first stitch of every round ensures you never lose your stitch count.
Why You'll Love This Pattern
- Quick 1-hour project perfect for beginners and craft fairs
- Chubby, seamless single-sphere body with zero awkward seams
- Expressive safety eyes and embroidered blush cheeks
- Easily scalable with chunky plush blanket yarn
About This Pattern
This lovable crochet frog plushie is crocheted in continuous spiral rounds from the head to the base. With sweet bubble eyes, little webbed legs, and a cream belly patch, it is the ultimate cute companion.
🎨 Visual Colorway Selector
Preview how different yarn combinations look before you start stitching:
Before You Start
Pattern
Chubby Pocket Crochet Frog
✓ Tested by Crochetovia Design Studio (Emma Reynolds)- Skill Level
- Hook Size4.0 mm (G-6)
- Yarn Weightworsted
- Yarn UsedDishie Cotton or Premier Chenille Worsted Weight Cotton Blend
- Yardageapprox. 90 yds (82 m) total
- Gauge6 sc x 6 rows = 2" x 2" (5 cm x 5 cm) using a 4.0 mm hook
- Finished Size4.5" (11 cm) tall x 5" (13 cm) wide
- Estimated Time1-2 Hours
Materials
- - Worsted Weight (Category 4) Yarn:
- • Sage Green (Body & Eyes): 60 yds
- • Cream / Off-White (Belly): 20 yds
- • Blush Pink & Black (Cheeks & Smile): 10 yds
- - 4.0 mm (US G-6) Crochet Hook
- - 1 Pair of 12 mm Black Safety Eyes with Washers
- - Premium Polyester Fiberfill Stuffing
- - Tapestry Needle & Scissors
- - Stitch Marker
Terminology & abbreviations
US ↔ UK crochet terms (reference)
| US term | UK equivalent | Watch out |
|---|---|---|
| ch — chain | ch — chain | Identical in both systems. |
| sl st — slip stitch | ss — slip stitch | Same stitch, different abbreviation. |
| sc — single crochet | dc — double crochet | Highest-risk overlap: UK "dc" is NOT US "dc". |
| hdc — half double | htr — half treble | |
| dc — double crochet | tr — treble | Highest-risk overlap. |
| tr — treble | dtr — double treble | |
| dtr — double treble | trtr — triple treble | |
| sc2tog — decrease | dc2tog — decrease | |
| gauge | tension | Terminology difference only. |
| yarn over (yo) | yarn over hook (yoh) |
The instructions below are written in US terms. We do not auto-convert them, because the same abbreviation means a different stitch in each system — use this table to translate as you work.
Stitch abbreviations used in this pattern
| MR | Magic Ring |
|---|---|
| sc | Single Crochet |
| inc | Increase (2 sc in same st) |
| dec | Invisible Decrease (sc 2 sts together) |
| sl st | Slip Stitch |
| ch | Chain |
| st(s) | Stitch(es) |
Instructions
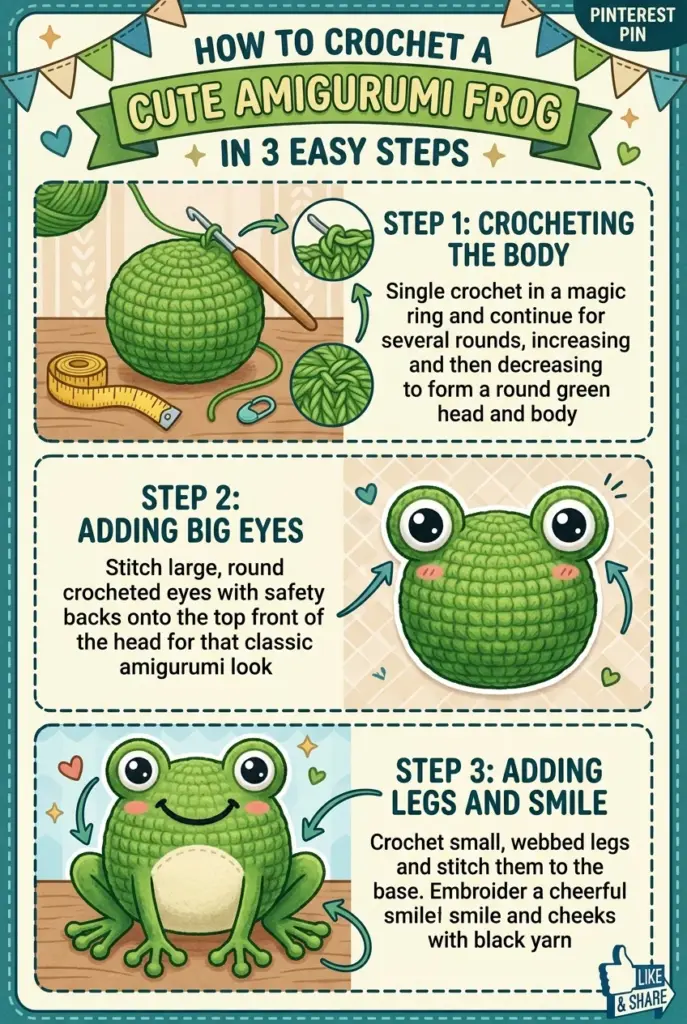
Step 1: Crocheting the Seamless Head & Body
With Sage Green yarn:
Round 1: Make a Magic Ring, work 6 sc into ring. (6 sts)
Round 2: [inc in each st] around. (12 sts)
Round 3: [1 sc, inc] 6 times. (18 sts)
Round 4: [2 sc, inc] 6 times. (24 sts)
Round 5: [3 sc, inc] 6 times. (30 sts)
Round 6: [4 sc, inc] 6 times. (36 sts)
Rounds 7-12 (6 rounds): sc in each st around. (36 sts)
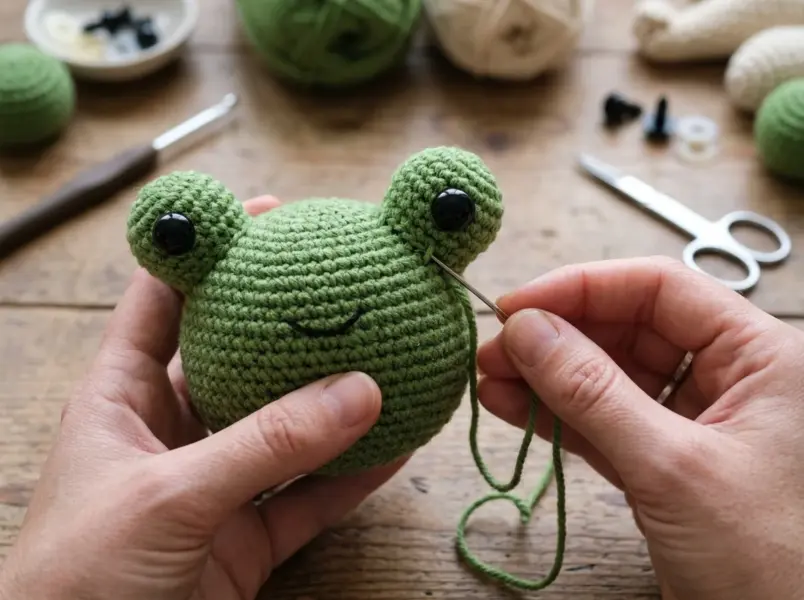
Insert 12 mm safety eyes between Rounds 8 and 9, spaced 7 stitches apart. Embroider a small black smile in the center between the eyes with tapestry needle.
Round 13: [4 sc, dec] 6 times. (30 sts)
Round 14: [3 sc, dec] 6 times. (24 sts)
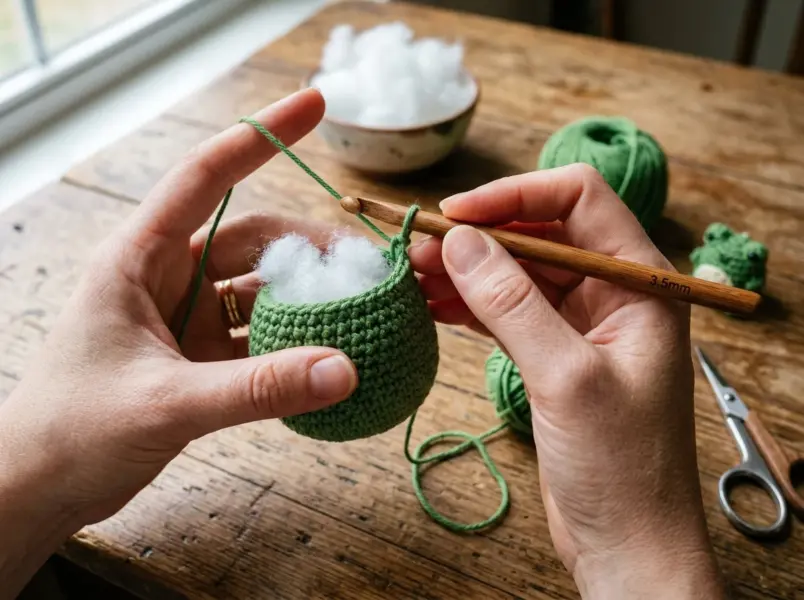
Stuff the body firmly with polyester fiberfill.
Round 15: [2 sc, dec] 6 times. (18 sts)
Round 16: [1 sc, dec] 6 times. (12 sts)
Round 17: [dec] 6 times. (6 sts)
Fasten off, weave needle through remaining 6 front loops and pull tight to close.
Step 2: Crocheting & Attaching the Eye Caps
Make 2 Eye Caps (Sage Green):
Round 1: Magic Ring, 6 sc into ring. (6 sts)
Round 2: [inc in each st] around. (12 sts)
Round 3: [1 sc, inc] 6 times. (18 sts)
Rounds 4-5: sc in each st around. (18 sts)
Round 6: [1 sc, dec] 6 times. (12 sts)
Fasten off leaving a 10" yarn tail for sewing. Add a small pinch of fiberfill into each eye cap.
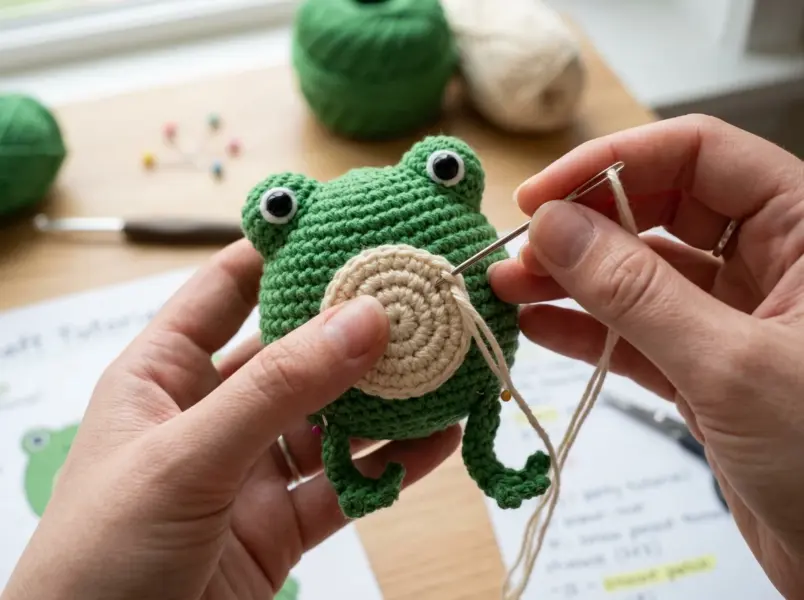
Assembly: Position the eye caps on the top-front crown of the frog head directly above the safety eyes. Use tapestry needle and the yarn tail to whip stitch securely to the body.
Step 3: Belly Patch, Arms, Legs & Finishing
Belly Patch (Cream Yarn):
Round 1: MR, 6 sc into ring. (6 sts)
Round 2: [inc] around. (12 sts)
Round 3: [1 sc, inc] 6 times. (18 sts)
Round 4: [2 sc, inc] 6 times. (24 sts)
Sl st to next st, fasten off leaving a 12" tail. Pin to the front center belly and sew flat.
Arms & Legs (Make 4 in Green):
Round 1: MR, 6 sc into ring. (6 sts)
Rounds 2-4: sc in each st around. (6 sts)
Press flat, do not stuff. Sc 3 sts across the top opening to close.
Finishing: Sew 2 arms on sides between Rounds 10-11, and 2 legs at the base between Rounds 14-15. Embroider two sweet horizontal pink blush marks just below each eye. Weave in all remaining yarn tails!
Notes
Work in continuous spiral rounds without joining with slip stitches. Use a stitch marker to mark the first stitch of each round.
Use invisible decreases (front loops only) for a seamless, professional finish.
💡 Tips for Best Results
- • Stuff the body firmly, shaping with your hands as you fill the base.
- • Embroider the pink blush cheeks before placing the final safety eye backings if you prefer easier needle access.
💡 6 Creative Ways to Use Your Finished Flower
Don't let your cute flower sit alone in your craft stash! Here are the most stylish projects to embellish:
Bucket Hat Appliqué
Sew 1 to 3 flowers onto the crown of a crochet bucket hat for an instant 90s aesthetic.
See Bucket Hat Pattern →Coaster Accent
Stitch on top of a flat round coaster base to protect wooden tables in style.
Explore Coaster Patterns →Tote Bag Charm
Add a cluster of flowers to canvas tote bags or market bags for a personalized handmade touch.
Hair Clip & Scrunchie
Hot glue onto an alligator clip or tie around an elastic band for a super fast cute gift.
Granny Square Center
Work basic dc stitches into the petal tips to transform the flower into a 3D granny square blanket.
Floral Bookmark Tassel
Attach a 10-inch braided yarn tail with beads for a quick 10-minute reader gift.
Did You Make This Project?
We would love to see your finished piece! Share your rating and comments below.
Leave Your Rating:
❓ Frequently Asked Questions
You Might Also Like
Keep your hook busy with these beautiful patterns.